Ingredients:
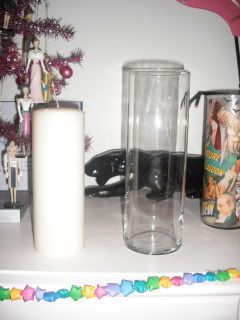
1 CLEAN glass candle holder of any shape or size
1 candle that will fit well in the glass (make sure it smells yummy !)
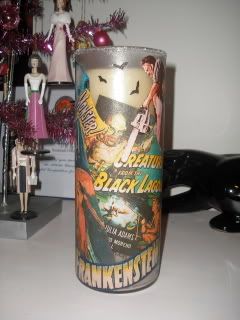
1 computer and printer to print out your images (I used images of old horror movie posters off of the internet)
1 pair of scissors
1 large paintbrush and a sponge roller or brayer
1 jar of Mod Podge
*Optional* Glitter, stickers, ribbon, etc.
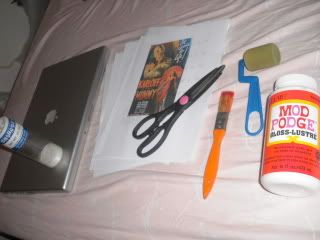
Step 1) Find your images, print them out or cut them out of a magazine and cut all of them to your desired size/shape/whatever
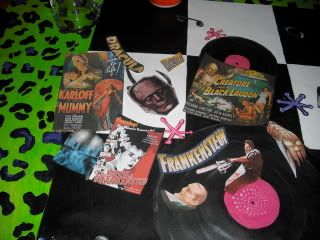
Step 2) Take your CLEAN glass holder (remember to wash your glass with hot soapy water and dry it well or you might sabotage your project) and give it a nice coat of Mod Podge
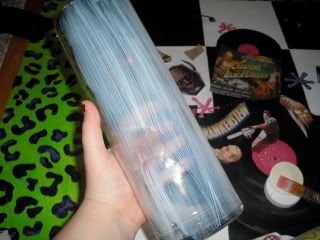
* This step is entirely optional* I'm really A.nal about brush strokes, even strokes made by sponge brushes, so I use a sponge paint roller to even out the texture of the Mod Podge. Yes, I'm OCD, but hey at least my projects look nice
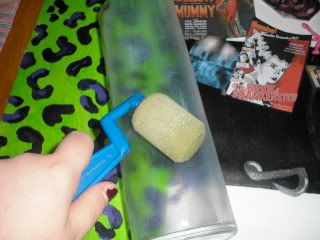
Step 3) Next, take your cut out images and place them carefully on your glass, smoothing out the wrinkles with a brayer or your sponge roller.
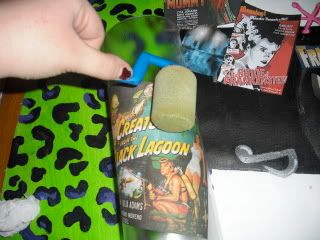
Step 4) Next, after all of your images are on the glass, give the images a nice coat of Mod Podge. After about 15 minutes, do it again.
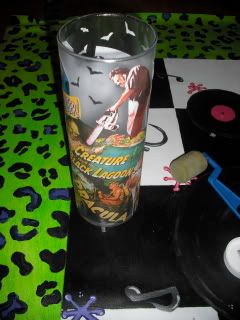
*Optional* add some glitter, stickers, or tie a ribbon around your candle holder to finish it off.
Step 5) Light your candle and bask in the glow of your own awesomeness
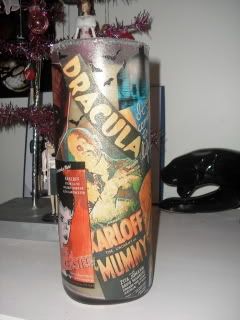
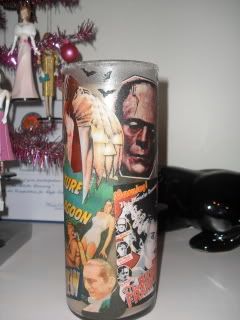
Here are the images on mine from different angles :


No comments:
Post a Comment